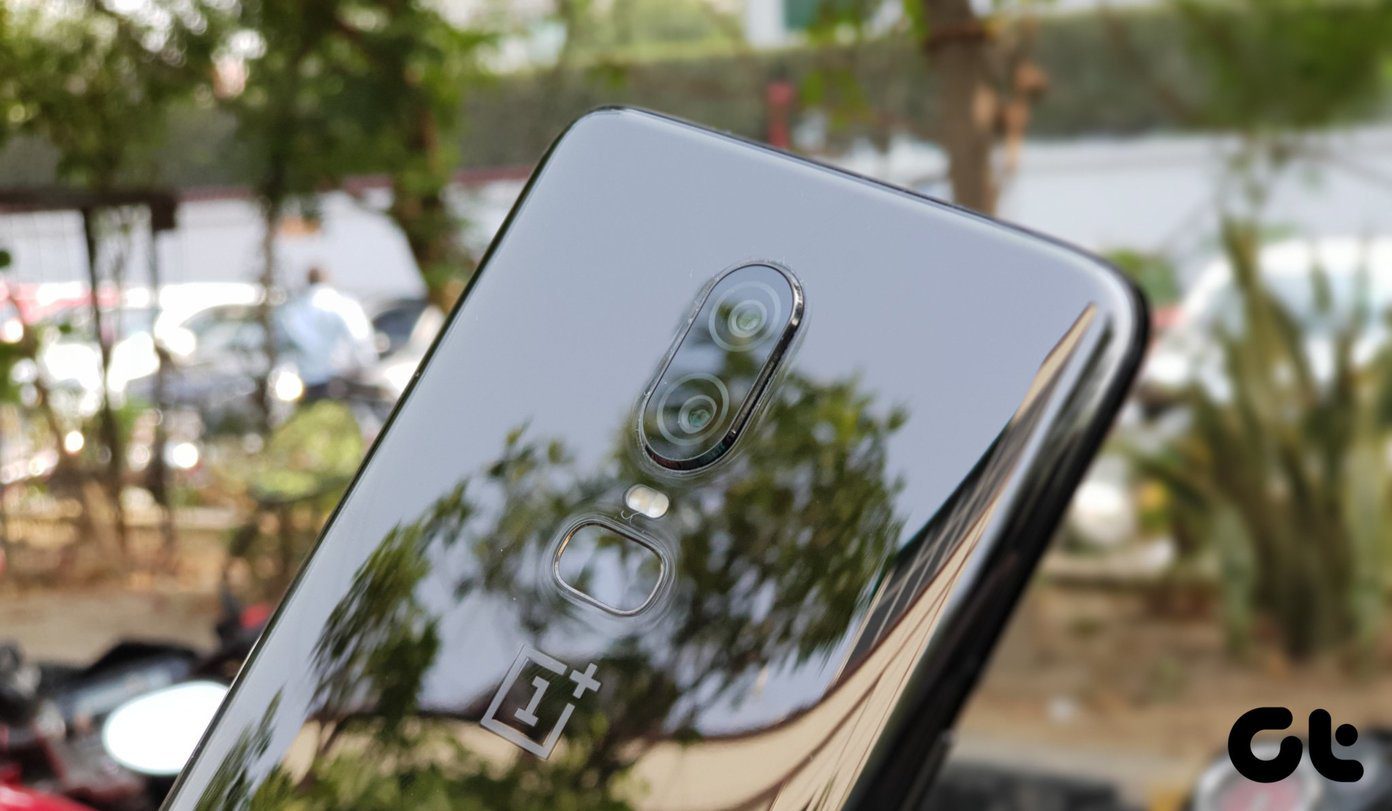
In order to get the most out of the OnePlus 5 camera, we at Guiding Tech, have gone through every nook and corner of the camera app and have come up with a list the coolest OnePlus 5 camera tips and tricks. Let’s get started.
1. Enable the Save Normal Photo Option
The Portrait mode or the Bokeh Mode is one of the major highlights of the OnePlus 5 and it produces incredible images. However, at times, this mode might not render a proper image. While you may always click another picture, why waste time when the OnePlus 5 gives you a nifty option to the normal version of the picture? The setting (turned off by default) lets you save two copies of the same pictures — one with bokeh and the other without. Given the ample amount of space that the OnePlus 5 comes with, it would be more than apt to give this handy setting a try.
2. Observe the Depth Effect Icon
Agreed that the OnePlus 5 depth effect is admirable, especially after the latest camera update, there are a few scenarios when the portrait mode doesn’t kick into action. For one, when the light is too low or the subject is too far away. If you are not sure whether this mode is active, look for the Depth Effect icon in the lower portions of the viewfinder. In a good setting, the icon will be flashing green. But if the setting isn’t fitting, OnePlus 5 will alert you with a grayed out Depth Effect icon.
3. Use the Secondary Lens for Macros
The OnePlus 5 primary lens can be quite tricky when it comes to capturing macros. For instance, setting the focus is a tad tricky sometimes. You can overcome this issue by using the telephoto zoom lens to capture macros since it lets you get close to the subject to capture it in all its glory. All you need to do is tap on the 2x icon, lock in the AE/AF settings and click with a steady hand.
4. Utilize the Pro Mode
At the end of the day, the auto mode of the OnePlus 5 doesn’t do justice to some of nature’s immensely beautiful sceneries. As you might already know, it lets you play with the exposure levels, focus, ISO, white balance or the shutter speed. For instance, for night time photography, you can raise the ISO levels and adjust the shutter speed to bring the necessary detail into play. Once done, the RAW image is ready for editing by a third-party app. The first picture is taken on pro mode and enhanced later by SnapSeed. Notice the difference of the landscape in the auto mode.
5. Save your Pro Mode Settings
If you are using a set of specific settings for the Pro mode, you can keep them saved. The OnePlus 5 gives you the nifty option of saving up to two pro settings — C1 and C2. All you need to do is select the C button, adjust the settings and click on Save C1 button. The drill is similar for the C2 settings as well. Now, whenever you are in need of the saved settings just tap on the buttons on the left side and you are ready to click away.
6. Work with the Immersive Camera Mode
Agreed that the horizontal line and the settings give you the necessary reference for clicking a great picture. But if you want to have a clutter less interface while you take the final shot, go to the settings and toggle the switch for the Immersive mode. So, once the exposure has been set and the focus adjusted, just swipe on the screen to enter the immersive mode. Once done, swipe up to reveal the camera settings.
7. Employ the In-house Editing Suite
If you wish to touch-up a picture before you share it online, you can do it easily with the in-house editing suite. All you need to do is open the picture and tap on edit. Though it doesn’t have a diverse set of options as some of the popular editing apps, they are enough to meet the basic needs. It includes all the parameters like contrast, saturation, exposure, adjustment tool and the basic crop tool.
8. Slide for Exposure Adjustments
Coming back to the Auto Mode, the OnePlus 5 has nifty exposure adjustments. If you were familiar with the exposure settings for the OnePlus 3/3T, it involved focusing on a subject and then moving clockwise to increase the exposure. In the OnePlus 5, instead of the clock setting, you’ll see a vertical line next to the focus. Simply slide it down to lower the exposure and slide it up to increase it.
9. Lock the Exposure and Focus
The OnePlus 5 bundles a nifty AF/AE lock, which locks the exposure levels and keeps the focus fixed, even if the light condition changes or the object moves. So, if you are recording a video, this mode will ensure that there is consistent lighting throughout leading to a more professional look to it. All you need to do is long press for a few seconds on the viewfinder to enable it.
10. Use the HDR Mode for Selfies
Beauty modes in selfie shooter are a default stay these days. The OnePlus 5 goes a notch higher and packs in nifty HDR modes for selfies. This auto HDR is switched on by default, however, you can opt for the manual HDR mode or choose to turn it off completely.
11. Switch on Location Mode
Lastly, don’t forget to turn on the location mode. The location mode makes it easier to track pictures later which had been taken at a particular location.
That’s All, Folks
So, this was how you can take better pictures with the OnePlus 5. Given that camera tech is one of the primary focus of the OnePlus 5 team, it would be a shame if one didn’t utilize it to the maximum. And if you want your favorite trick to feature here, you know where the comment section is. See Next: How to Backup and Sync Google Photos and Drive from Computer The above article may contain affiliate links which help support Guiding Tech. However, it does not affect our editorial integrity. The content remains unbiased and authentic.


