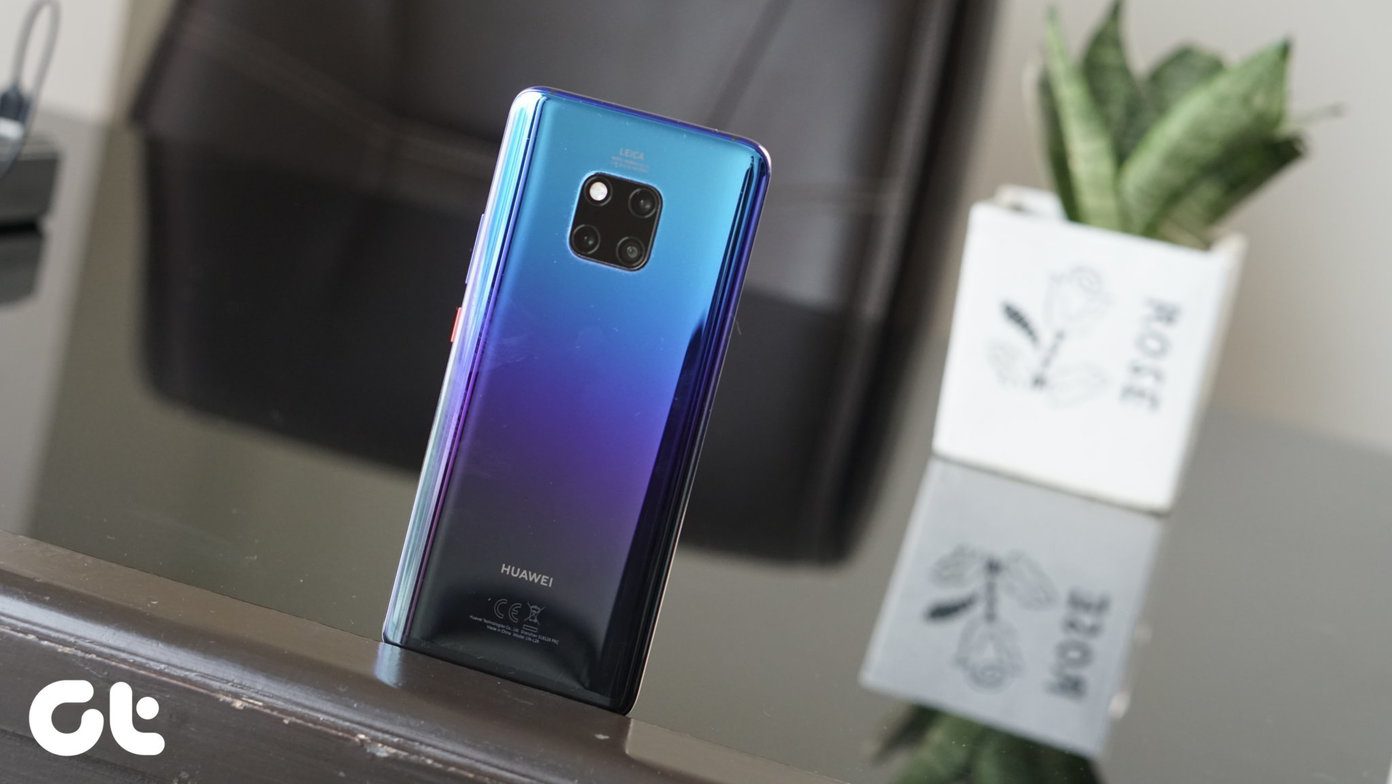
Hence, we’ll show you the way around the Huawei Mate 20 Pro’s camera, and how to get the most out of it using these cool camera tricks.
1. Capture the Wide World
One of the best features of Mate 20 Pro is the ultra-wide lens. Thanks to it, you can capture detailed landscapes in a single frame. To enable it, tap on the 1X button on the side edge and keep on tapping until you reach 0.6x. The wide-angle mode is prone to distortion (fisheye effect). So make sure to apply lens distortion effect to make up for it.
2. Take Advantage of the Super Macro Mode
The Huawei Mate 20 Pro is gold for macro lovers. The 20-megapixel sensor is not just great for capturing landscapes but can also click some amazing macros. One of the highlights of this phone is it can focus on subjects as close as 2.5cm from the camera. The Super Macro mode kicks in automatically when you zoom out the camera to 0.6x. The only work which you’ll have to do is get close to your subject. Surprisingly there is no dedicated option to choose Super Macro mode.
3. Capture Crisp Low-light Images
If you have followed the recent smartphone camera trends, you must have seen that most phones like the Pixel 3 and OnePlus 6T have a dedicated night mode. These modes help to capture detailed and crisp night photos, by stitching together multiple pictures taken with different exposures. The Mate 20 Pro also bundles an independent night mode, aptly named Night. Unlike the pictures taken on the Auto mode, the night mode pictures are crisp, detailed, and lack noise. The best thing about this camera is that the night mode works across all the three lenses. But before you start clicking, you’ve to keep two things in mind. First, hold the camera as stable as possible. Because the camera takes multiple shots, a slight hand movement will result in a blurred photo. If you plan to do more low-light photography, invest in a proper phone tripod like the JOBY GorillaPod. Buy
JOBY GorillaPod
Secondly, the Mate 20 Pro captures great still photos. But if your frame has moving cars or buses, the resulting picture might not be as good as your expectations.
4. Disable the Master AI for Better Shots
In most cases, the Master AI helps to capture beautiful shots with enhanced colors and sharp contrast. But this feature is not appropriate for all weather conditions. In stormy or cloudy weather conditions, the AI tends to give a bluish hue to photos. Also, at times it tends to remove shadows and highlights. In such cases, it’s best to turn off the AI Master from Camera app’s settings.
5. Super Slow Motion Settings
‘Tis the age of super slow motion videos. The Mate 20 Pro can capture slow motions at whopping 960fps rate, similar to the Samsung Galaxy Note 9. And the Mate 20 Pro gives you two different modes to shoot slow motion videos — Auto and Manual. The former automatically grabs a video when it detects motion. In the manual mode, you’ll have to specify an area where you want the video to slow down, and then tap on the shutter button. With a tight time-interval, precision is the key while shooting such videos. Also, light is the crucial to great slow motion videos. So, make sure that you’re shooting in broad daylight or where there’s plenty of light. Unfortunately, the built-in editing suite doesn’t offer much when it comes to enhancing such videos. Other than the option to adjust the brightness, sound, and length, it has nothing else to offer. For adding music and transition effects, you have to explore third-party apps like Funimate or Vizmato. These apps come with great features to help you make Instagram ready videos. Download Funimate Download Vizmato
6. Play with the Portrait Mode’s Shooting Modes
The portrait mode (or bokeh) is a common feature today. The Mate 20 Pro’s portrait mode does things a little differently. Taking a leaf out of the iPhone X’s portrait mode, this phone offers a few modes like Stage Lighting, Folding blinds, and Photo Booth. That’s a gold mine for the Instagram buffs. It replaces the background with a stylish set of colors and effects, enhancing the overall looks. Pick the correct mode and start clicking. Generally, the shooting modes don’t fare well in indoors and resulting pictures appear artificial and flat.
7. Shoot RAW Pictures
With such a fully loaded camera module, it would be a shame if you didn’t explore the Pro Mode. Sure, the Auto mode is capable of capturing some great pictures, but how about taking your photography game a notch higher? The Pro mode lets you play with the camera settings like white balance, ISO, and shutter speed. You can also store pictures in the RAW mode. Though pictures in the RAW mode look flat and lack the punch, they are more flexible to edit since they carry more details that are normally absent in JPG images. To enable RAW mode, navigate to Pro > Settings > Resolution, and toggle the RAW resolution on.
8. Monochrome Mode
Unlike its predecessor, the Mate 20 Pro doesn’t have a dedicated Monochrome lens and makes up for that with a Monochrome mode. And it doesn’t end there! The mode comes with its own techniques such as a Pro mode, Portrait mode, and Aperture. All you need to do is go to More > Monochrome > Portrait and start your clicking game. I am sure you would love to try out the Monochrome Portrait Mode. It captures stunning images in shades of white and black.
9. Enable Motion Pictures
Thanks to Motion Picture, you can now store a short video along with still images on your Mate 20 Pro. Simply tap on the little circle on the camera’s viewfinder. All the motion pictures are denoted by a tiny circle at the top-right corner. Tap on it to view a little video of the moments leading to a photo. Motion photos being short clips occupy more space than regular photos. So note that before you switch on the option.
10. Shoot Cool Color-Pop Videos
Another cool trick that the Mate 20 Pro has up its sleeves is AI Color. Akin to color-pop photos, this one preserves the color of the subject in focus while draping the rest of the image in black and white. This way the subject stands out in stark contrast. To enable it, head over to the Video tab, tap on the pencil-shaped icon at the left corner, and select AI Color. The only downside is that it can’t be used on inanimate objects.
A Picture Is Worth a Thousand Words
Huawei Mate 20 Pro’s camera is every shutterbug and photography enthusiast’s dream. Check out the tips and tricks in action at our Guiding Tech (English) YouTube Channel video below: The Aperture mode is for those who wish to tweak the blur in the photo. Plus, you can also make a photo much vivid through the filter at the top. Simply select Vivid and watch the colors come to life, just like the image on the right below. Next up: Don’t you always wonder why a lot of photos stand out immediately even though they might not look natural. Here’s your chance to learn photo editing tricks that you can practice on your Android phone. Buy
JOBY GorillaPod
The above article may contain affiliate links which help support Guiding Tech. However, it does not affect our editorial integrity. The content remains unbiased and authentic.


