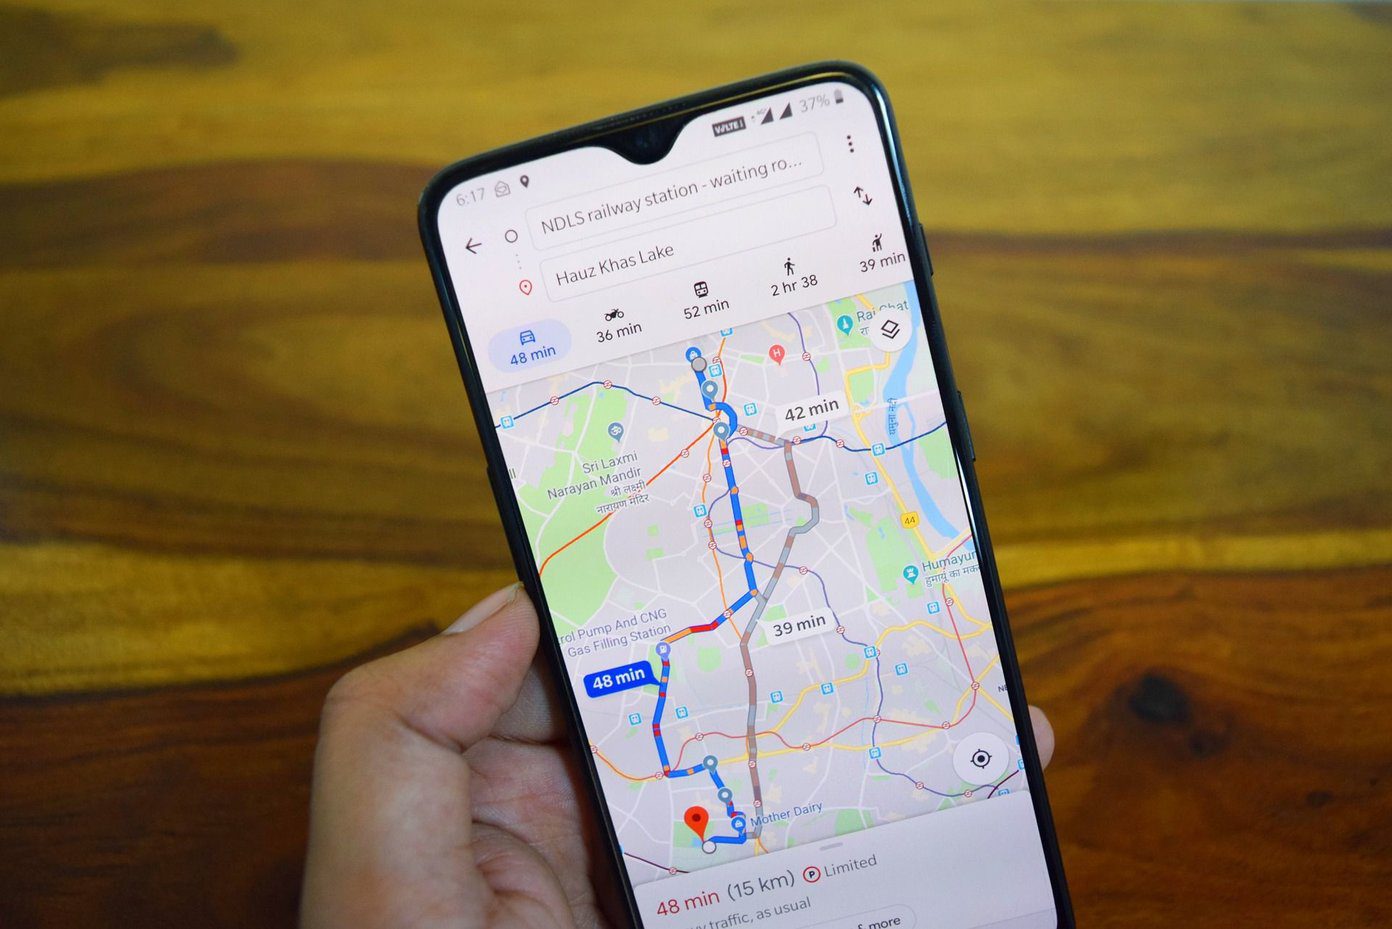
You can share guides with friends and family, collaborate with others when planning a vacation, or even to create a list of places you like to visit. While there are many apps that help you plan your travels, and the convenience of built-in Apple Maps on iPhone is unbeatable. The Apple Maps Guides feature is very helpful if you like to see where destinations are related to each other. You can find the most convenient route, whereas creating a list of places to see lacks that extra layer of visibility.
Creating an Apple Maps Guide
You can create any guide you like – a “Top 10 Places to Visit While Traveling”, “My Favorite Vintage Shops,” or even “Restaurants I Want to Visit.” There are so many options, and it’s all at the touch of your fingertips to create! Step 1: Open your Maps app and swipe up on the bottom toolbar until you see the button New Guide. Click on it. Step 2: Name your new list and then click on Create. Now that our guide is made, we can start adding our destinations. Step 3: Once you hit Create, you will be taken back to the front page of Apple Maps. Scroll down to the bottom to where the Guides are and click on your new guide. The Guide we are creating will be for Portland, Oregon. Step 4: Click on the button Add a Place. You can search for destinations to visit by name or address. Click on the “+” symbol (circled in picture) next to your destination to add to your Guide. Step 5: Continue to add destinations until you have every place you want to visit. You can always come back to your guide and add more to it. Once you’re done, you can click on your guide to select all your destinations. Each destination will have a different symbol depending on the type of destination it is. For example, flowers are used for gardens, and coffee shops have coffee cup. This is very helpful if you want to see what places are around each other while making your itinerary.
Edit Your Guide
Your guide has full customizability; you can change the icon, the name and delete destinations that no longer fit your needs. Step 1: Open your guide, and swipe up on your guide name until it covers the screen. Step 2: Click the Edit button found in the bottom left hand corner of the screen.
Edit Icon: Click on the camera button on your guide’s icon. This will let you change the photo to your guide to a different photo in your library.Edit Title: Click on the Edit Title text found under your guide’s name. You can edit the name of the title.Delete Destinations: To the left of each destination is a blank circle, click on the destinations you want to delete to select it. Once you’ve selected all the locations, click on Delete All to remove them from your list.
Share Your Guide
After you’ve spent so much time compiling and creating your guide, you can share it with your travel buddies, family, or even the public. Step 1: Open your Apple Maps and find the guide you created and want to share. Step 2: Once you have your guide open, slide up on tab (we did this to look at all our added locations). Click on the middle icon at the bottom of the screen. Step 3: Choose how you want to share your guide. You can AirDrop the guide, use a messaging app, send over iMessage, and e-mail.
Find Inspiration
If you’re in a pinch and don’t have time to create your custogm guide, or if you’re looking for inspiration, you can look at guides other people have made in that area. Step 1: Find the city you’re exploring using the Search feature. Step 2: Swipe up on the menu and scroll to the bottom until you see the Explore Guides button and click on it. You can browse all the guides made in the area. Click on the guide that piques your interest. Step 3: Look at the guide that you opened, if you see a destination that you want to add to your guide, click on the plus (+) sign to the right and add it to your guide.
A Guide for Everyone by You
Creating your own Apple Maps Guide is a great way to compile all your favorite destinations and places to visit visually on a map. You can share these guides with anyone you want and reference other guides for inspiration. Apple Maps has many helpful features, and using the Guides can make planning your next adventure much easier. The above article may contain affiliate links which help support Guiding Tech. However, it does not affect our editorial integrity. The content remains unbiased and authentic.


